Ever tried chopping vegetables in your own shadow? Yeah, it’s frustrating when overhead lights create dark spots right where you’re working.
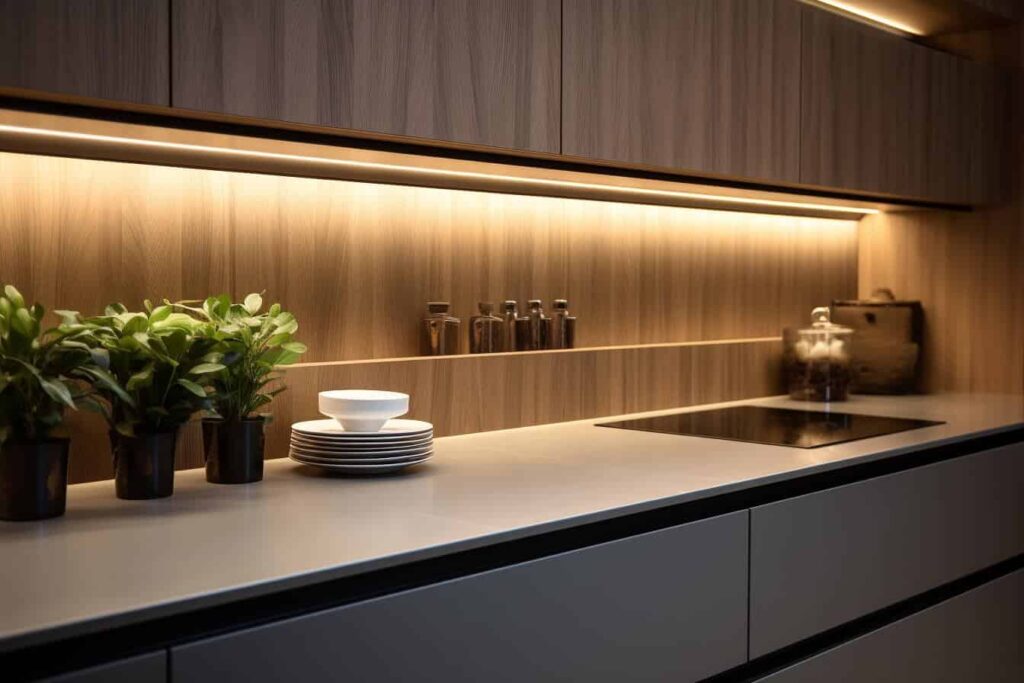
However, under-cabinet LED lighting solves this problem by directing light right onto your countertops and prep areas. They remove any blind spots during food preparation, highlight beautiful backsplashes, and create a warm ambience.
We at Made Minimal believe good lighting is the foundation of a functional and welcoming kitchen that you’ll enjoy spending time in every single day.
In this article, we’ll cover:
- Different types of under-cabinet LED lighting that are available in Australia
- Space requirements and proper placement for best results
- DIY versus professional installation costs
- How to install the lights yourself
Ready to light up your kitchen the right way? Let’s get started.
What Is Under-Cabinet LED Lighting in Australia?
Under-cabinet LED lighting refers to light fixtures installed beneath kitchen cabinets to illuminate countertops and work areas. They make food preparation safer by eliminating shadows that overhead lights create.
You’ll find three main types across Australian homes:
- Battery-powered options
- Plug-in models (for connecting to the nearest power point)
- Hardwired systems (that integrate into your electrical setup)
Each option suits different needs and budgets, so you can pick what works best for your space.
Before you choose a fixture type, you need to understand how these lights fit into your overall kitchen lighting plan.
What Are the Different Types of Kitchen Lighting?
The different types of kitchen lights include task lighting for work areas, ambient lighting for overall brightness, and accent lighting for visual appeal. These layers work together to make cooking and cleaning easier while reducing eye strain.
They also change your kitchen from a purely functional space into one that feels welcoming at all times of day.
Let’s break down each type and how it works in your kitchen.
Task Lighting
Under-cabinet lights are the most common task lighting for kitchens because they sit right above your work surface. So you get bright, direct light exactly where you will be chopping vegetables or reading recipes. This means no more shadows falling across your cutting board when you’re dicing onions.
Ambient Lighting
Does your kitchen ever feel uncomfortably bright in some spots but dim in others? That’s usually a sign you need better ambient lighting.
The good news is that ceiling fixtures and pendant lights solve this problem by evenly distributing illumination across the entire space. Your open-plan kitchen especially benefits from this layered approach, which connects the cooking area to the rest of your home.
Accent Lighting
Accent lighting highlights your kitchen’s best features after dark. You might add LED strips above your cabinets or install small spotlights to showcase a stone backsplash or kitchen island.
The result is a warm atmosphere that’s perfect for relaxing with a cup of tea or entertaining guests without the harsh glare of full overhead lighting.
Now that you know how different lighting types work together, let’s look at the specific fixture options for your under-cabinet setup.
What Are the Different Types of Under-Cabinet LEDs?
For your under-cabinet space, you have different types of LED options like strip lights, pucks, and light bars.
While strip lights provide continuous coverage along the entire cabinet length, puck lights give you flexibility with individual round fixtures. And light bars come pre-sized for quick installation.
The type you choose affects both how the lighting looks and how easy it is to install. Here’s how each one works:
LED Strips
LED strips are flexible strips that provide continuous illumination along your entire cabinet. You can cut them to the exact size you need. The thin profile sits neatly underneath, and installation is simple: just peel and stick (easy peasy!)
LED Puck Lights
If you want flexibility and easy battery-powered installation, then puck lights are the best option for you. These small, round fixtures install at intervals underneath the cabinets. And the battery-powered options mean you don’t need an electrician just to change a bulb.
We recommend spacing the bulbs 24 inches apart for balanced illumination all over the countertop.
LED Bars
Sometimes you need a plug-and-play solution that looks professional without any complicated wiring or cutting. That’s what you get with LED bars.
All the fixtures are rigid and pre-sized and mount directly under the surfaces. Also, they come in standard lengths from 12 to 48 inches wide, so you can match your cabinet size without trimming anything.
How Much Space Do You Need for Under-Cabinet LED Lighting?
There’s no one-size-fits-all answer here. The exact space you need will depend on your cabinet depth and the type of lighting you choose for your kitchen. But if you get the placement wrong, you’ll end up with glare on shiny countertops or shadows in the wrong spots.
Get these two measurements right:
Cabinet Depth Requirements
Installing lights too far forward or back creates shadows and glare that defeat the whole purpose. So measure the exact depth of the cabinet before adding any bulbs.
In our experience, positioning the bulbs 2-3 inches back from the cabinet front edge works best for most kitchens. You’ll also need to maintain a 3-inch air gap around the power supply for proper ventilation and safety.
Spacing Between Fixtures
Proper spacing prevents dark spots and ensures even illumination across your entire countertop surface.
As we’ve mentioned before, puck lights need to be spaced 24 inches apart for uniform light distribution. Meanwhile, linear fixtures can run end-to-end with no gaps, or you can leave a gap equal to one fixture width.
Helpful tip: Draw your cabinet layout on paper first and mark where each light goes. This helps you visualise the spacing before you commit to any permanent installations.
Once you’ve sorted out the spacing requirements, it’s time to look at what this lighting project will actually cost you.
What Does Under-Cabinet LED Lighting Cost in Australia?
Well, the price varies quite a bit depending on different fixture types, brands, and whether you’re doing it yourself or hiring someone.
Basic LED strips for DIY start around $20, while full professional installation can reach up to $900. Your final cost depends on how many cabinets you’re lighting and the fixture quality.
In this section, we’ll explore both DIY and professional installation costs so you know what to budget.
DIY Installation Costs
DIY installation can save you hundreds of dollars while still giving you professional-looking results. And there are plenty of affordable options to choose from at hardware stores.
Here’s what you can expect to pay:
- LED Strips: Basic LED strip kits range from $20 to $100 per fixture, depending on the length and quality.
- Puck Lights: Battery-powered puck lights cost $15 to $40 for multi-packs, which is perfect for smaller cabinet sections.
Based on our research, for an average-sized kitchen (around 3-4 metres of cabinets), your total DIY project will cost somewhere between $150 and $300. But that includes all the strips, connectors, and power supplies you need.
Professional Installation Costs
A professional will cost more upfront, compared to DIY, but will save you the hassle. An electrician’s fees range from $400 to $900 for a complete kitchen installation. And including labour costs, you’ll pay an average of $230 to $300 per single fixture.
However, professional installation ensures your lighting meets Australian electrical safety standards and looks perfectly finished. And the higher price means no flickering lights and no fire hazards from dodgy wiring.
Your hardwired systems require professional work because they connect directly to your home’s electrical panel. You don’t want to be the person who accidentally trips the power to half your house at 8 pm on a Sunday.
How Do You Install Under-Cabinet LED Lighting?
If you’re keen to DIY and want to install the lights yourself, the process really isn’t that hard. Follow these steps:
- Measure Length: First, measure your cabinet lengths and mark placement positions.
- Clean the Surfaces: Before applying adhesive-backed LED strips underneath, clean surfaces thoroughly to make sure there’s no grease stopping the adhesive from sticking.
- Test Placements: Connect the power source and test placement before permanently mounting fixtures. This saves you from peeling everything off if light doesn’t reach where you need it.
Completed your installation without calling an electrician? Congratulations! You can even brag to your friends about saving $600 while making your kitchen look like a showroom.
Light Your Kitchen the Right Way
Many people feel confused about which under-cabinet lighting to choose and where to position it for best results. But with the right information, you can solve those frustrating shadow problems without overspending or creating new glare issues.
We’ve walked through the three main fixture types available in Australia, explained proper spacing and depth requirements to avoid glare. Also, we’ve compared DIY costs and professional installation. You now know exactly what to budget for your kitchen upgrade.
When you’re ready to upgrade your kitchen lighting, we’ll be happy to help you find the right fixtures for your space.